

OUR BLOG
Solving Common Epoxy Grout Issues: Bubbling, Discoloration & Expert Fixes
Updated : 3 months ago
.jpg)
Epoxy grout is a miracle worker. Its durability, resistance to stains, and strength are unmatched, especially in high-traffic or moisture-prone areas. But no matter how strong the surface, every material has its quirks, and epoxy grout is no exception.
You’ve spent hours perfecting your tile installation, only to be met with bubbling, discoloration, or uneven finishes. Frustrating, right?
You're not alone. Epoxy grout issues, such as bubbling or discoloration, may occur during installation or soon after, and they may have you wondering what's going on.
Let's take it apart, troubleshoot the problems, and get you back to that flawless finish.
What You Need to Know About Common Epoxy Grout problem
1. Bubble in Epoxy Grout
One of the most common problems faced by professionals and DIY enthusiasts alike is the appearance of bubbles in epoxy grout. You’ve mixed the grout to perfection, applied it to the tiles, and yet, tiny bubbles appear, ruining that sleek, seamless look.
Why does this happen?
Air Entrapment: If the grout is mixed too quickly or aggressively, air gets trapped, causing bubbles to rise to the surface.
Too Much Moisture: Grouting with wet tools or in a high-humidity environment can add too much moisture, causing bubbles.
Elevated Mixing Ratio: Too hardener or insufficient grout can change the chemistry, causing an unwanted reaction and bubble formation.
Solution for Epoxy Grout:
If you don't want or need to prevent or repair bubble in epoxy grout, here's what you have to do:
Mix Slowly: Slow and steady wins the race. Mix slowly so that air won't be trapped.
Dry Tools: Ensure your tools (sponges, floats, etc.) are dry and have no water in them prior to use.
Good Ratio: Follow the instructed ratio of grout to hardener so that there is not an imbalance.
In case bubbling continues to happen, don't panic. Let the grout harden, and then scrape out the bubbles using a utility knife carefully and then apply the grout quickly in the same area.
2. Grout Discoloration Fix
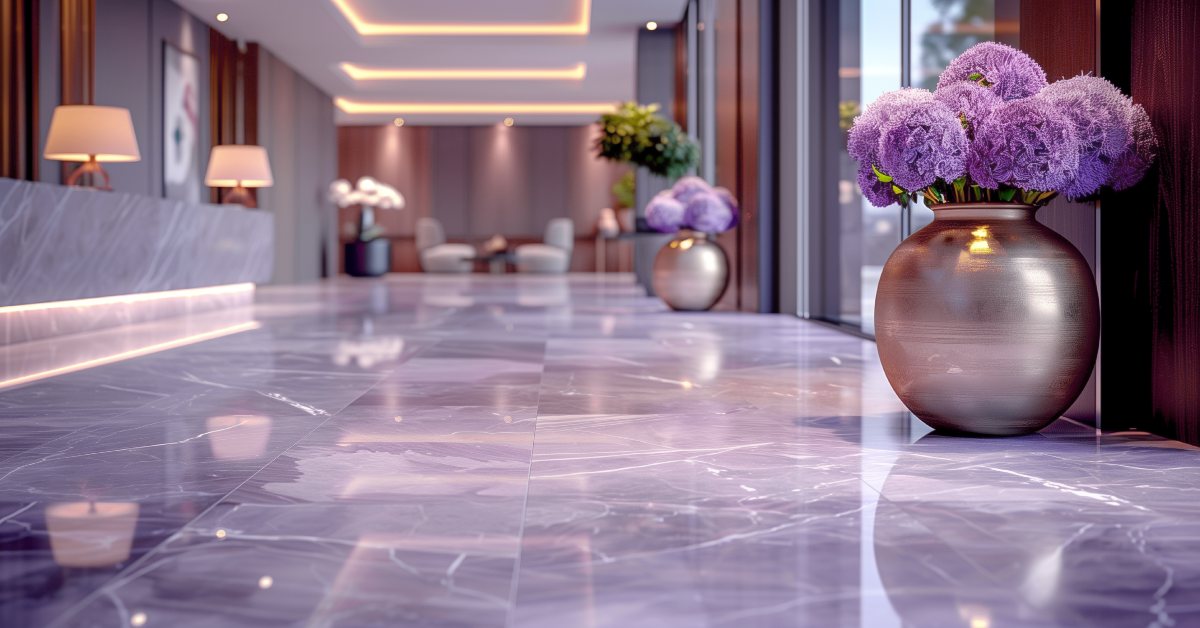
A stunning countertop or floor may lose its shine if the grout becomes discolored. Whether it is a color shift after curing or dark stains developing over time, discoloration of the grout is one of the most vexing problems.
Why does it happen?
Exposure to Moisture: Epoxy grout is water-resistant, yet if it is applied on wet surfaces, or subjected to too much moisture, then it leads to discoloration.
Inconsistent Mixing: If the epoxy grout ingredients are not mixed well enough, you may notice color variations that become more noticeable after the grout has set.
Poor Curing: Grout that does not cure in the appropriate temperature range or in adequate conditions can exhibit mottled color or streaks.
Grout Discoloration Fix:
Cure Under Right Conditions: Have the room at the correct temperature (about 70°F or 21°C) to allow the grout to cure consistently.
Clean Thoroughly: Before grouting, ensure all surfaces are clean and dry.
Seal After Curing: Once the grout is fully cured, apply a proper sealer to protect the surface and maintain the uniform color.
Pro Tip: If you’re already dealing with grout discoloration, gently scrub the grout lines with a pH-neutral cleaner and a soft brush to even out the color.
3. Epoxy Grout Shrinkage and Cracking
Epoxy grout is made to be strong, but occasionally, it will shrink or crack, particularly in high-traffic or moving areas.
What causes this to occur?
Over-mixing: This causes the grout to set too fast or unevenly.
Too Thin of a Layer: If grout is too thinly applied, it lacks enough body to resist heavy use, which causes cracking.
Environmental Factors: Temperature or humidity shifts may result in expansion or contraction of the grout, resulting in cracks.
How to Fix It:
Don't Overmix: Adhere to manufacturer's guidelines on mixing and application to prevent rapid setting issues.
Correct Layer Thickness: Use epoxy grout with proper thickness to withstand usage stresses of daily life.
Let the floor grow: Provide for expansion by using expansion joints in the areas where movement is likely to occur to avoid temperature or moisture shrinkage cracking.
4. Wavy Grout Surface
Nobody likes a wavy or bumpy floor. Alas, wavy grout surfaces are not uncommon either, particularly if the grout is laid too fast or too slow.
Why does it happen?
Application Speed: Too fast an application of grout leads to an uneven, hasty finish.
Incorrect Mixing of Grout: Excessive mixing of grout or improper mixing ratio can lead to inconsistencies.
How to Fix It:
Use Even Pressure: Use even pressure while applying the grout, and level it using a float.
Clean While You Go: Regularly wipe off excess grout to prevent clumping in some areas.
Epoxy Grout Fixes: Avoiding Problems Before They Arise
While resolving epoxy grout problems is necessary, avoidance of the same in the initial step will spare you time, energy, and tension.
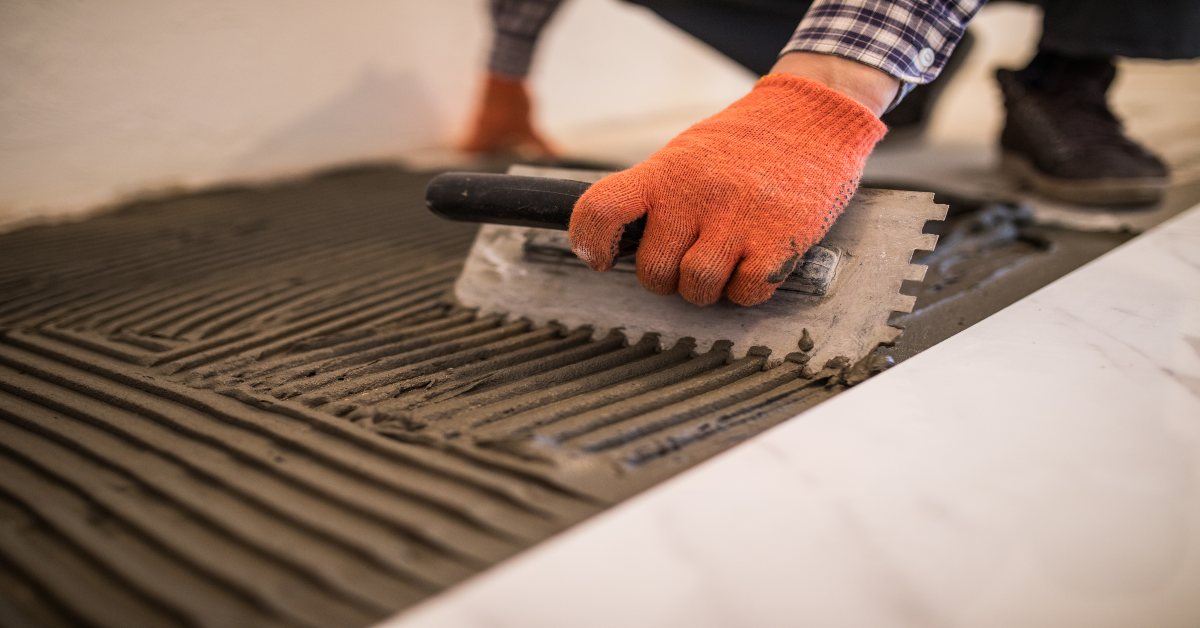
1. Proper Surface Preparation
Proper surface preparation is an important aspect of a successful grouting job. Ensure that the substrate is dry, free from dirt, and even before applying any grout.
2. Use High-Quality Epoxy Grout
All epoxy grout is not the same. Select a superior-grade product that resists staining, cracking, and discoloration. It's worth the money in the long run.
3. Use Manufacturer Instructions
Every brand of epoxy grout comes with its own instructions for mixing, application, and curing. Use these instructions to get the best outcome.
Final Thoughts
In the end of the day, epoxy grout issues such as bubbling, discoloration, and cracking do not need to be long-term obstacles. Through a little troubleshooting, the proper techniques, and patience, you can overcome such problems and renew your surfaces to their original glory.
Keep in mind, epoxy grout is all about making a permanent, usable finish that enhances your vision, be it for a residential or commercial area. By addressing these common problems head-on, you make sure that your space looks as beautiful, dependable, and long-lasting as you had dreamed.
If you require assistance in epoxy grout solutions, or if you're ready to make your next move in achieving perfect surfaces, contact the professionals who've done it all, seen it all, and are eager to assist you in reaching perfection.

60 views
60
0 comments
0
Recent Posts
See All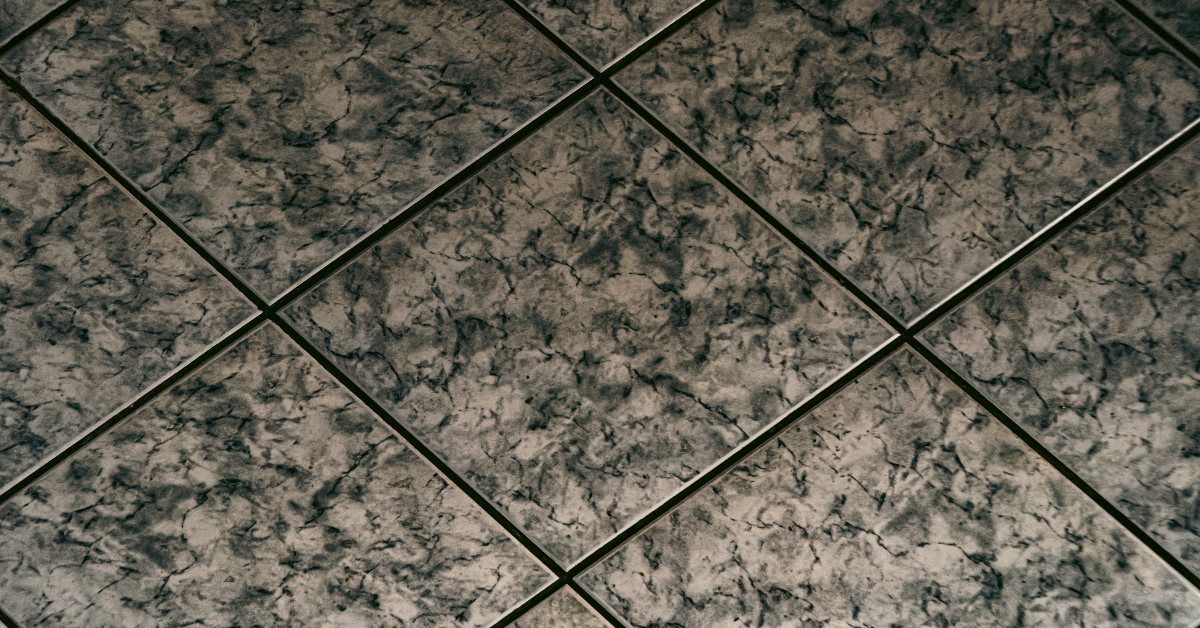
GET IN TOUCH
RachTR Chemicals Private Limited, 4th Floor, Unit No 413/414, Spaze Boulevard, Above Kia Showroom, Sector 47, Gurgaon - 122018
© 2024 RachTR. All Rights Reserved.


Comments