RachTR’s Process of Natural Stone Installation
Updated : 4 months ago

At RachTR, we believe that a perfect natural stone installation process is a balance of art and science. Having worked on over 1,000 projects and covering more than 10 million square feet of marble and stone flooring, we’ve developed a precise and efficient process that ensures stunning results every time.
Natural stone installation involves a carefully structured system. Our 5-step process guarantees that the stone’s beauty and longevity are maintained, resulting in a surface that will stand the test of time.
Let’s take a closer look at our 5 -step natural stone installation process!
1. Pretreatment
As with many things in life, preparation is key. Before a single stone is placed, we go through a pretreatment process to ensure that each slab is ready for installation.
What does pretreatment involve?
● Cutting: Stones are precisely cut to the required size and shape, ensuring they fit perfectly into the design.
● Fibre Removal: Any excess fibers are removed to prepare the stone for installation.
● Densification: This step strengthens the stone, increasing its resistance to wear and tear over time.
● Sealer Treatment: A special treatment is applied to the back of the stone to prevent stains from seeping through during installation.
Once the pretreatment is complete, the natural stone processing is primed and ready to be fixed into place.
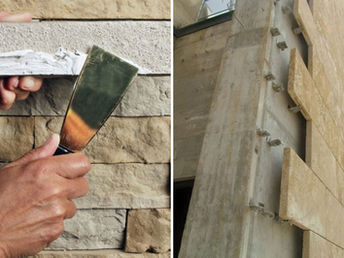
2. Fixing (Installation)

Now comes the heart of the process—the actual installation. Whether the stone is being placed on the floor or the walls, the fixing stage is where precision and expertise are most critical.
What happens during the fixing stage?
● Adhesion: The surface on which the stone will be installed—whether cement, metal, wood, or glass—determines the type of adhesive used. The goal is to ensure the stone stays securely in place for years to come.
● Joint Chemicals: As the stone slabs are placed side by side, special chemicals are used to fill the joints between them. The aim here is to create a smooth, seamless surface with joints that are nearly invisible.
This stage is all about precision. After all, natural stone only looks its best when every slab is perfectly aligned and securely fixed.
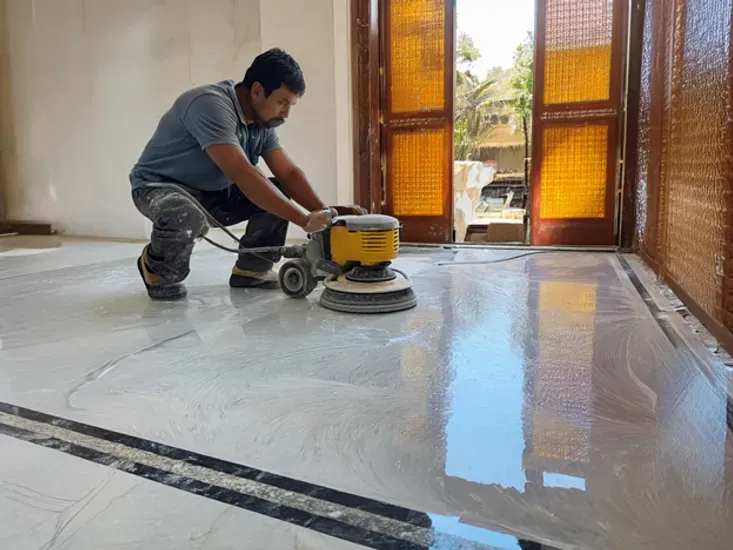
3. Polishing

Once the stone is installed, the next step is to give it a polished finish. While some stones like granite come pre-polished, marble usually requires additional polishing after installation.
Why is polishing important?
● Enhancing the Finish: Polishing brings out the stone’s natural colors and patterns, giving it that luxurious, glossy finish marble is known for.
● Smoothing the Surface: A polished stone surface is not only beautiful but also smooth to the touch, free of any imperfections.
A proper polish can take natural stone from ordinary to extraordinary, making it the true focal point of any space.
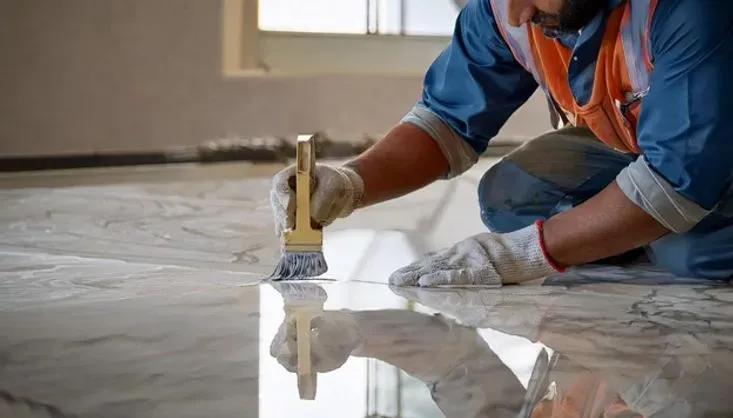
4. Protection

The installation process doesn’t end with fixing and polishing. Once the stone is in place, we need to ensure that it’s protected from the elements and the wear and tear of daily life.
How do we protect the stone?
● Sealers: A high-quality sealer is applied to the surface of the stone, protecting it from water damage, stains, and other forms of wear. Sealers also enhance the durability of the stone, ensuring it retains its beauty for years to come.
● Durability: This step is crucial to preserving the stone’s finish and protecting it from daily exposure to environmental factors.
Applying the right protection not only maintains the stone’s visual appeal but also extends its lifespan.
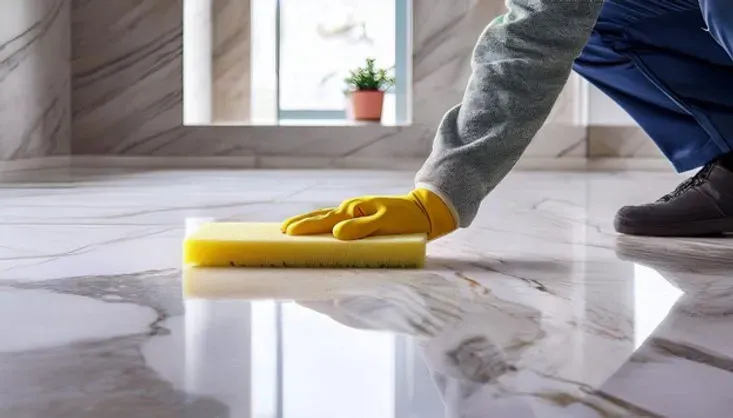
5. Cleaning and Maintenance

Even with the best installation and protection, natural stone requires ongoing maintenance to keep it looking its best.
What does maintenance involve?
● Gentle Cleaning: Harsh chemicals can damage natural stone, so regular cleaning should involve gentle, pH-neutral products that don’t strip away the protective sealer.
● Spot Treatment: Over time, minor issues like stains, cracks, or yellowing of joints can arise. These should be addressed promptly to prevent further damage.
● Periodic Polishing: A light polish every few years helps maintain the stone’s glossy finish and keeps it looking as good as new.
Routine cleaning and maintenance are the keys to preserving the beauty and longevity of processing natural stone surfaces.
Conclusion
The installation process is the unsung hero behind every stunning natural stone surface. Whether you’re working with marble, granite, or limestone, the quality of the installation determines the stone’s durability, appearance, and overall value. From pretreatment to polishing, each step plays a critical role in ensuring that your stonework stands the test of time.
At RachTR, we’ve dedicated ourselves to mastering this process, delivering results that not only look incredible but also last for generations. Just like the Taj Mahal, which continues to inspire awe centuries after its creation, your stone installation project can become a timeless masterpiece—with the right process, of course.
In addition to our expertise with natural stone, we also offer epoxy flooring solutions that are perfect for both residential and commercial spaces. Epoxy flooring provides a sleek, durable surface that complements the elegance of natural stone while offering added protection against wear and tear.
With our perfected 5-step process, we’ll help you create something that not only looks beautiful, but also stands the test of time.
Start your project with us today, and let your space shine with the elegance and strength of perfectly installed natural stone.
60 views
60
0 comments
0


Comments