

OUR BLOG
Epoxy Flooring Primer: What, Why, How and Where
Updated : 2 months ago
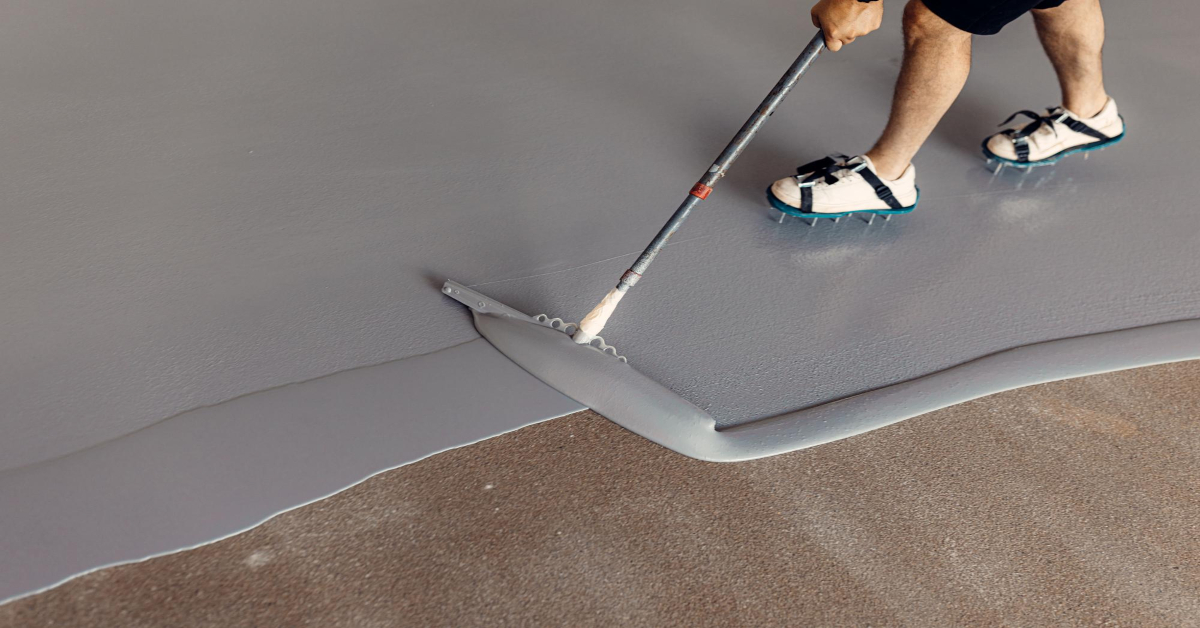
The Three Layers in Epoxy Flooring
Every well-built epoxy flooring system is made up of three distinct layers working together: the primer, the screed (or body coat), and the top coat. Each layer has a specific job - the primer bonds the system to the concrete substrate, the screed builds thickness, strength, and levels out the surface, and the top coat delivers the final finish, color, and surface resistance. Skip or rush any one of these stages, and the whole system is compromised - but the primer, being the very first layer applied, is where most long-term problems actually begin.
Primer's Detailed Definition and Its Importance
A primer in industrial epoxy flooring is a low-viscosity liquid coating applied directly onto the prepared concrete surface before any other layer goes down. Its job is to penetrate into the pores of the concrete, seal it, and create a strong mechanical and chemical anchor point for the layers above it. Without a properly bonded primer, the screed and top coat have nothing solid to hold onto - no matter how good those products are on their own.
Primers are typically formulated to be flexible, fast-drying, and resistant to moisture and chemicals, since they need to perform well even on substrates that aren't in perfect condition. This is the stage where the entire floor's long-term durability is decided, even though it's the layer nobody actually sees once the job is done.
Advantages of a Properly Executed Primer
When the primer stage is done right, it delivers benefits that carry through the entire life of the floor:
Stronger substrate bonding - a well-applied primer significantly reduces the risk of delamination, bubbling, or peeling later on.
Moisture resistance from below - primers with good moisture tolerance act as a barrier against vapor rising through the concrete, protecting the layers above from long-term damage.
Reduced risk of cracking - by sealing micro-pores and bridging minor surface imperfections, a good primer minimizes stress points that would otherwise lead to cracks in the finished floor.
Better adhesion for subsequent layers - the screed and top coat bond more evenly and reliably, resulting in a smoother, more consistent final surface.
Longer floor lifespan - since the primer is the foundation of the whole system, getting it right upfront directly extends how long the floor performs before needing repair or recoating.
The Things We Ignore While Applying the Primer
Despite being the most important stage, the primer is often the most rushed or overlooked - usually because it's invisible in the final result. Common mistakes include:
Skipping proper surface preparation - applying primer over dust, laitance, or contamination instead of a mechanically ground or shot-blasted surface.
Ignoring moisture testing - applying primer without checking substrate moisture levels, especially risky on new concrete slabs that haven't fully cured.
Wrong primer selection - using a generic or mismatched primer instead of one suited to the substrate condition, load requirements, and environment.
Inconsistent coverage - applying primer too thin in some areas and too thick in others, leading to uneven bonding across the floor.
Not respecting recoat windows - applying the screed too early or too late after the primer, both of which weaken the bond between layers.
Rushing cure time - moving to the next stage before the primer has properly cured, under pressure to meet tight project deadlines.
How to Ensure the Primer Stage is Executed Properly
Getting the primer stage right comes down to process discipline:
Thorough surface preparation - mechanically grind or shot-blast the substrate to remove laitance (powdery, or milky layer of fine cement particles and water ) and open up the concrete pores for proper penetration.
Moisture testing before application - use a calcium carbide test or moisture meter to confirm the slab is within acceptable limits before priming.
Selecting the right primer for the job - matching primer type to substrate porosity, expected load, and site conditions (temperature, humidity, chemical exposure).
Applying at the correct coverage rate - following manufacturer-specified spread rates to ensure even, complete coverage across the entire floor.
Respecting cure and recoat timing - allowing the primer to cure fully within its recommended window before applying the screed coat.
Site supervision by trained applicators - having experienced personnel oversee the primer stage significantly reduces the chance of application errors that surface months later as cracks or delamination.
Conclusion
The primer stage might be the least visible part of an epoxy flooring system, but it's the one that determines whether everything built on top of it lasts. This is exactly why RachTR delivers its epoxy flooring solutions on a turnkey basis - reliable products like RachTR EP 101 and EP 402, both engineered for strong substrate bonding with excellent resistance to moisture and chemicals, paired with trained execution teams who understand that no stage - Primer, Screed, or Top Coat - can be treated as an afterthought. Every layer is applied, checked, and cured to specification, backed by after-execution support if any issues arise down the line.
If you're planning a new epoxy floor or want to understand why an existing one is showing early signs of failure, RachTR's team can assess your substrate and recommend the right primer system for your facility's specific needs.

60 views
60
0 comments
0


GET IN TOUCH
RachTR Chemicals Private Limited, 4th Floor, Unit No 413/414, Spaze Boulevard, Above Kia Showroom, Sector 47, Gurgaon - 122018
© 2024 RachTR. All Rights Reserved.


Comments